
Guest Check in
In the Dashboard, Manager Users click on Guests & Bidders. This is where you will stay for checking in all guests.
- Find your guest in the guest list by using the search areas at the top. First try to locate the guest by their name, starting with the last. IMPORTANT the contact Info column has the guests' Email (@ symbol), Phone (Phone symbol), and Address (Home Symbol) which you can select at any time to add, or edit that information without opening their entire contact details. If the data is already entered, the symbol will be bolded.

a. To begin check-in click on the check mark icon and follow the steps below. If a guest is already checked in the icon will be colored. This process will check in any linked guest at the same time. You can read more about linked guests here: https://maxgiving.helpscoutdocs.com/article/299-linking-couples


- You will want to verify and add or edit any missing information in the check directly on the check-in screen. If you would like to edit more of your guest's info, you can click on the edit icon (pencil) to have access to the guest profile.
- IMPORTANT: If a guest is replacing another guest, DO NOT replace the guest information; this will need to be adjusted by removing the ticket from the guest and re-assigning it to the new guest.
- If you are unable to locate the guest, you may need to find them based on who purchased their ticket. These generic reservations can be replaced with the name and contact info for the actual guest attending. Example: If MaxGiving were a sponsor, there would be a table of sponsor guests, and some might be generic, with the name of MaxGiving Guest #1.
- Add Item Sale - Click on this to add For Sale Items to the guest as they walk-up. You must have selected to have these items available at check-in when creating the For Sale Item.
-
- Confirm Event Fee with Guest (%). Check this box when asking for guests to accept the fees - even if required, you must tell your guest this fee is required and click on the box after you have told them.
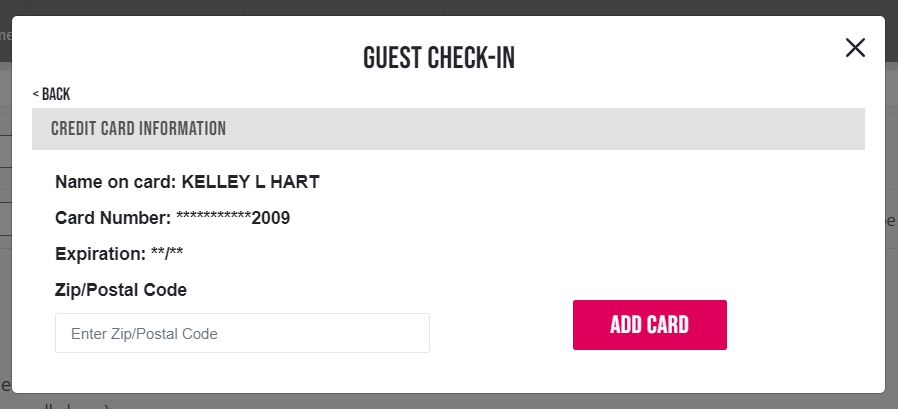
- To add a Credit Card to the guest's record, click on SWIPE CARD. When you see the Swipe Guest Card screen, swipe (magnetic strip facing towards the green light), and you will then see the information populate on the screen. Click Add Card to save. If the card will not swipe, you can click back and select manual entry. ***The zip code is not required in either entry.


5. If the Guest has an outstanding balance for tickets/sponsorships, you can charge it to the card they put on file. Your event lead will tell you if they would like you to settle pre-event balances in this way.
6. Click on Complete check-in. ***This button will say Complete Check-in & Send Link if the guest has not already set their online password for bidding. Once you click this, it will update the guest information, if sending the link also it will then give you a choice to send the link via email or text (text is recommended at the event), and then return you to the Guest List. For MySimpleAuction users, you will not see the Complete Check-in and Send link option, that is only on Mobile Bidding.
Make sure to give them their bid paddle, let them know their table assignment, etc., and you are ready to check in the next guest.
Download the Guest Check-In PDF version of these instructions below to share with volunteers and other staff assisting with check-in at your event.
Additional helpful links:
- Switching the mode for Auction Tracker card readers your organization previously owned to work with your MaxGiving site: https://maxgiving.helpscoutdocs.com/article/57-switching-auction-tracker-card-reader-to-work-with-maxgiving-sites
Printable Check-In & Out One Page Walkthrough
