
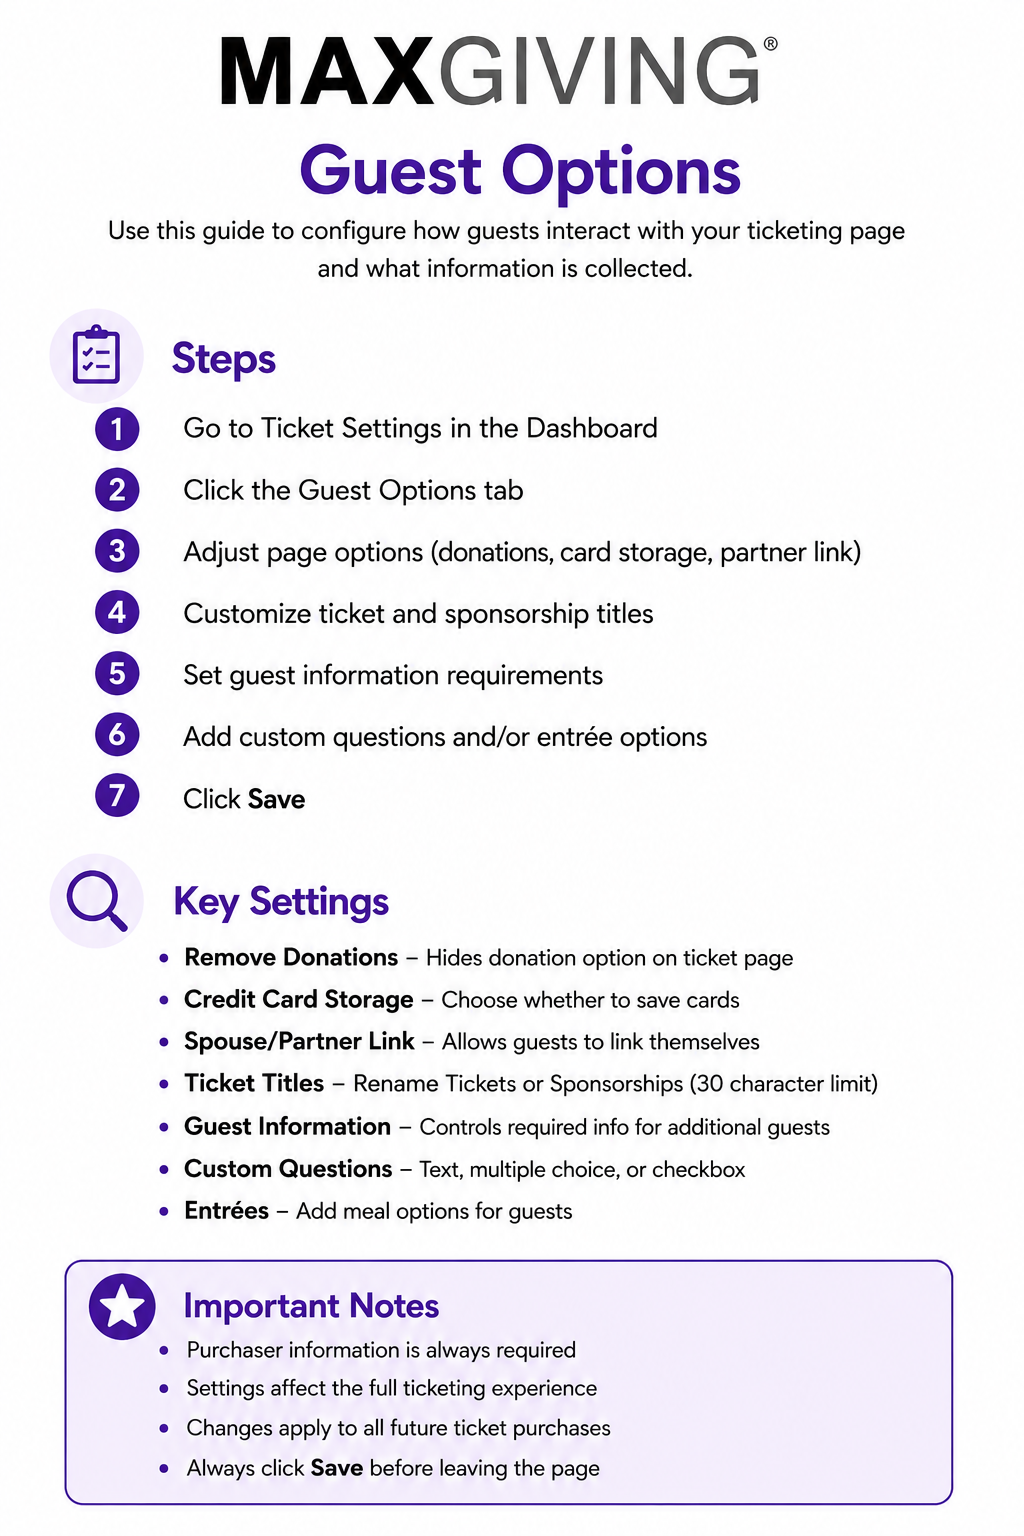
Guest Options (2nd Tab of Ticket Settings)
Customize how guest information is collected and displayed during ticket purchases. **If you have not done the first step click here General Ticket Settings.
Navigate to the Guest Options tab after completing your General Ticket Settings.

1. Configure Page Options

- Toggle Remove Donations if you do not want donation options displayed on the ticketing page.
- Choose how credit cards are handled: Toggle on Do Not Save if your organization prefers not to store cards
- Spouse / Partner Link Option: Enable this option to allow guests to link themselves to a spouse or partner during registration.
2. Customize Ticketing Titles

Update default titles such as:
- Tickets
- Sponsorships
You can rename them to fit your event (example: Reservations)
💡 Good to Know: There is a 30-character limit for each title
3. Guest Information Requested

This setting applies when a purchaser is buying multiple tickets.
- Determines if guest details are required for additional attendees
💡 Good to Know: If you want to offer your purchaser the option to select TBD for guest information at time of purchase you will need these set to optional. Purchasers information will always be required.
4. Create Custom Guest Questions

Add custom questions to collect additional guest information.
Available formats:
- Text box
- Multiple choice
- Checkbox
Example: “Who would you like to sit with?”
💡 Good to Know: When creating multiple choice questions, enter each answer option and press Tab or Enter to quickly add the next choice.
5. Add Entrées for Guests

Click Add a new entrée to include meal selections.
- Add entrée names and descriptions
- Example: Grilled salmon with butter sauce
💡 Good to Know: You must assign the entree selection to the specific reservations levels
6. Save Changes
Click Save to apply all changes.
⚠️ Important
Always save before leaving the page to avoid losing updates
Printable Quick Help Guide:
(see below for printing instructions)
How to Print This Guide
- Right-click on the image of the guide
- Select Save Image As…
- Save the file to your computer
- Open the saved image
- Click Print (or use Ctrl + P / Command + P)
💡 Good to Know
For best results, print using Full Page or Fit to Page settings to ensure proper sizing and clarity.