
Adding a Sponsor
Add a sponsor that paid outside of the platform (check, cash, or external payment) so they are included in your event and reporting.
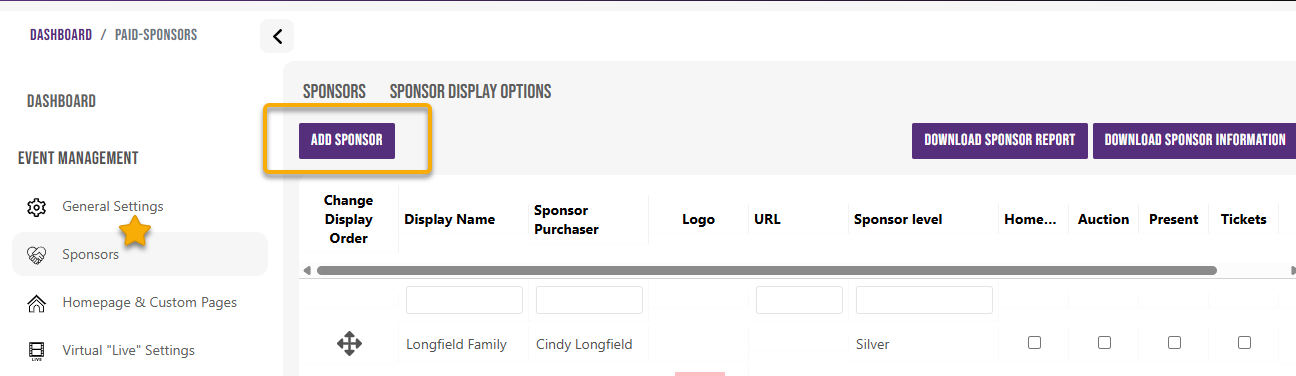
Open the Sponsors Section under Event Management
- Go to Sponsors in the dashboard
- Select the Sponsors tab
Click Add Sponsor Button
Select or Add a Sponsor Purchaser
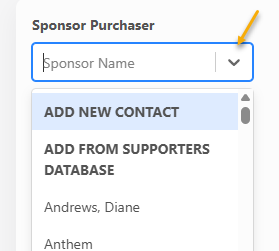
- Click the Sponsor Purchaser dropdown
- Choose one of the following:
- Select an existing contact from your All Supporters List
- Add New Contact
- Add from Supporters Database
When creating a new sponsor, select Add New Contact.
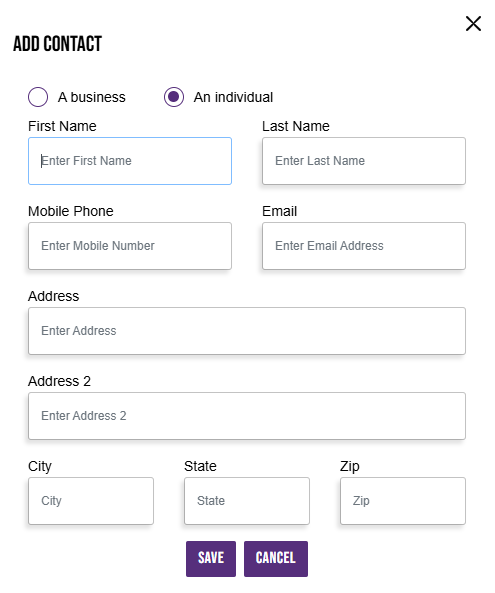
- Choose:
- A business or
- An individual
- Enter contact details:
- Name or Company Name
- Phone
- Address
- Click Save
Enter Display Name
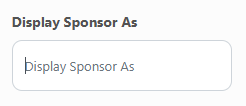
- The contact will be populated in the Sponsor Purchaser field however you can edit this to display as the sponsor would like. To edit click in the Display Sponsor As text box and enter how the sponsor name should appear publicly.
Select Sponsor Level
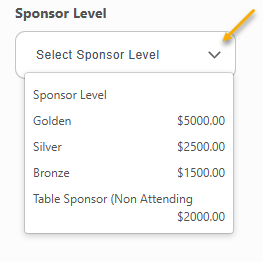
- Click Sponsor Level to open the drop down.
- Select the sponsorship package
**The amount will populate automatically. If you are adding the Sponsor but do not want to have money reflected in the software for this Sponsor, leave the choice at Select Sponsor Level
Upload Sponsor Logo

- Click Upload Photo (Adding Photos)
- Use one of the upload options to add an image/logo
Add Website
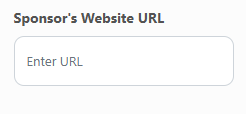
- Enter the sponsor’s website in Sponsor’s Website URL (optional)
Choose Display Locations
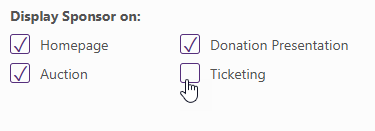
- Select where the sponsor should appear:
- Homepage
- Auction
- Donation Presentation
- Ticketing
Save the Sponsor
- Click Save
If the Sponsorship Includes Tickets
If the selected sponsorship level includes tickets, a pop-up will appear after you click Save with options for assigning guests.
Choose How to Assign Guests
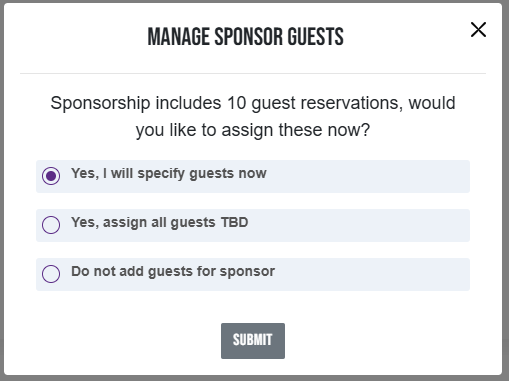
You will see the following options:
1. Yes, I will specify guests now: Choose this option if you want to begin assigning guests right away, even if you only know some of the names.
Guests can be added in one of the following ways:
- Select from Existing Event Supporters
- Add From Constituent Database
- Create New Contact
- Guest TBD (creates placeholders such as #1, #2, #3)
2. Yes, Assign all guests TBD: Assigns all tickets to placeholder guests (e.g., Guest #1, Guest #2). Use this option if guest names are not available yet.
3. Do not add guests for Sponsor: Removes all tickets from the purchaser’s record.
⚠️ Important: Be careful when selecting Do not add guests for Sponsor to avoid missing guest assignments later.
Post Payment
- You can do this by clicking the Payment icon in the Sponsor Form and then following the instructions here: Posting Individual Guest Payments

Good to Know
- Sponsors can be added as a business or individual
- Display Sponsor As controls the public name
- Sponsorship amount is tied to the selected level
- Sponsors can be edited after saving (Edit or Delete a Sponsor)
Important
Be sure to click Save to apply your changes.
Printable Quick Help Guide:
(see below for printing instructions)

How to Print This Guide
- Right-click on the image of the guide
- Select Save Image As…
- Save the file to your computer
- Open the saved image
- Click Print (or use Ctrl + P / Command + P)
💡 Good to Know
For best results, print using Full Page or Fit to Page settings to ensure proper sizing and clarity.